1. Open Azure Portal and start resource creation
Go to the Azure Portal, click on “Create a resource”, and search for “Virtual Network”.
2. Select Virtual Network and begin setup
Click on “Virtual Network” from the search results, then click the “Create” button to start configuration.
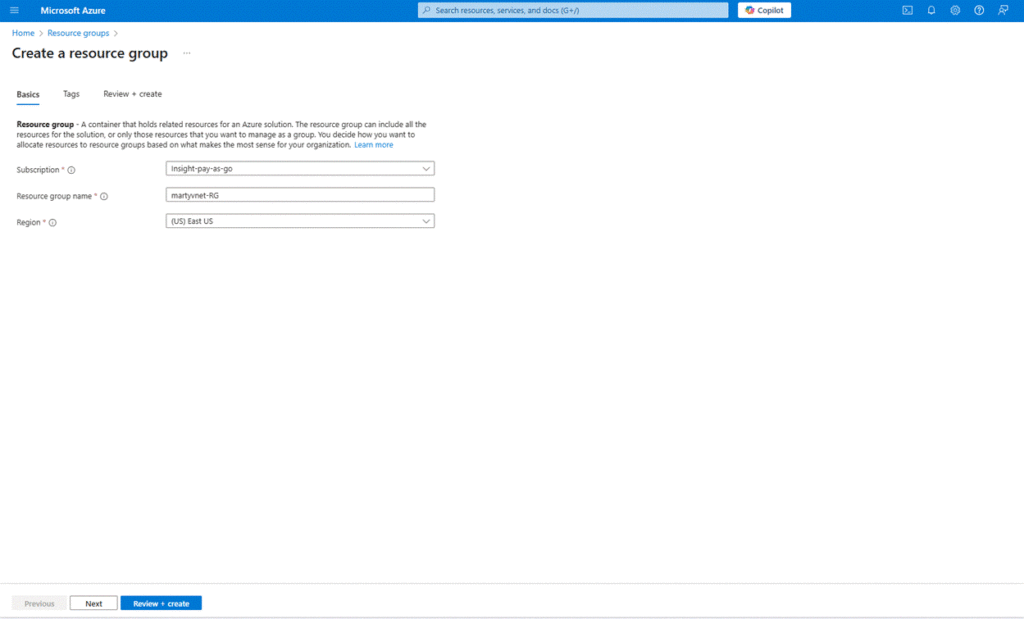
3. Fill in the basic configuration
On the Basics tab:
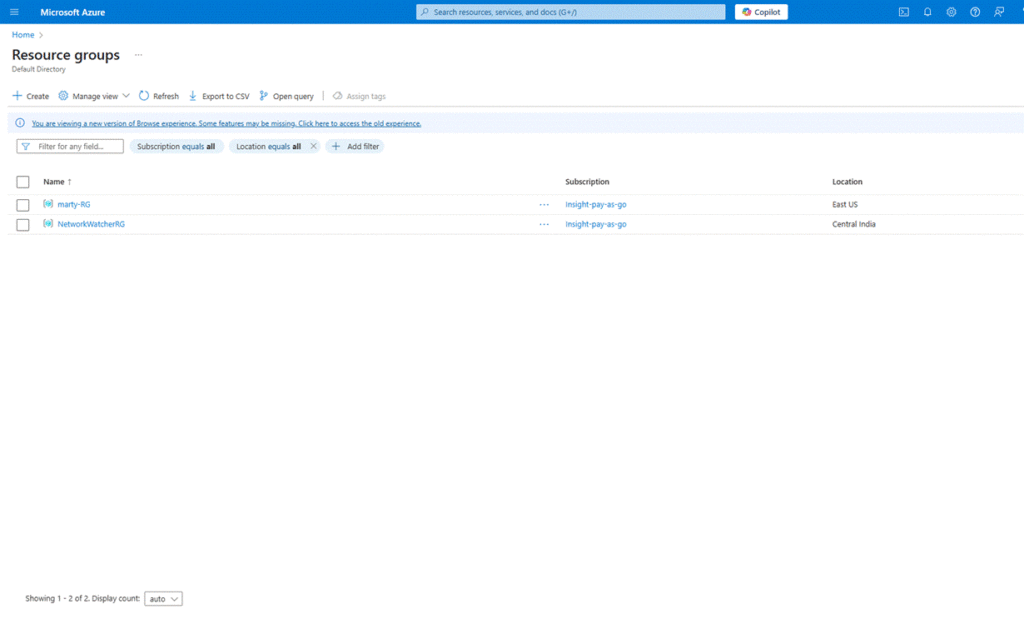
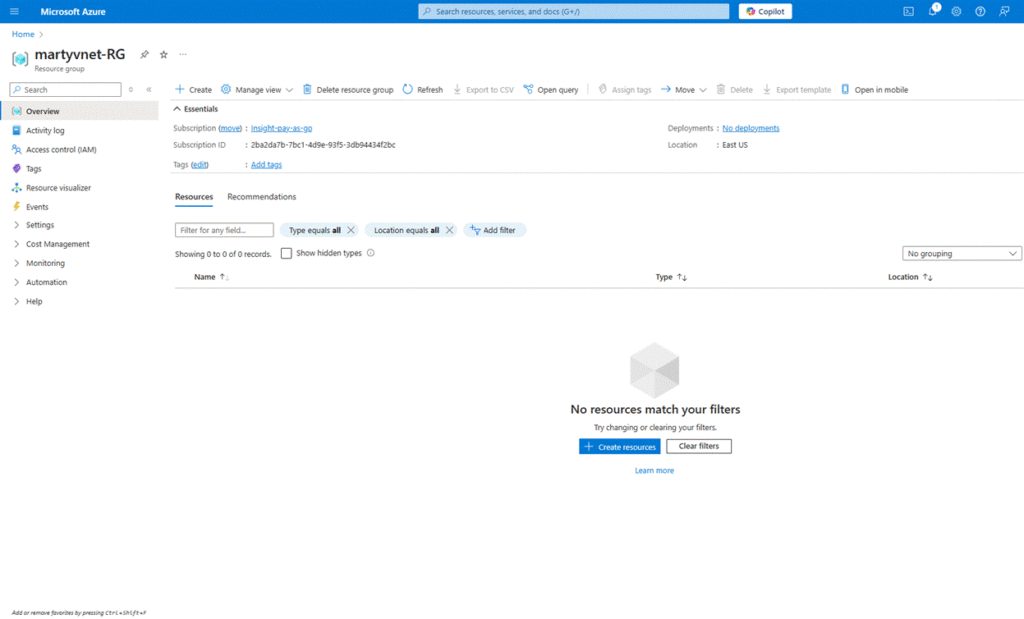
- Select your subscription and resource group (or create one).
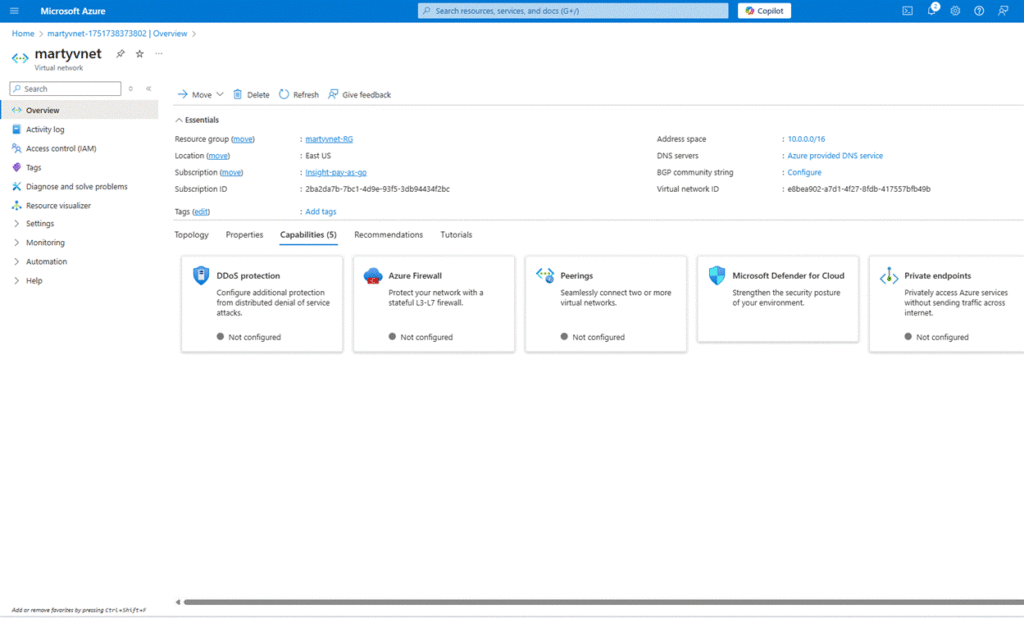
- Enter the name for your virtual network, e.g., martyvnet.
- Select the region where it will be deployed.

4. Configure security settings
On the Security tab:
- Leave default settings unless specific configurations are required (e.g., enabling Bastion or Firewall).
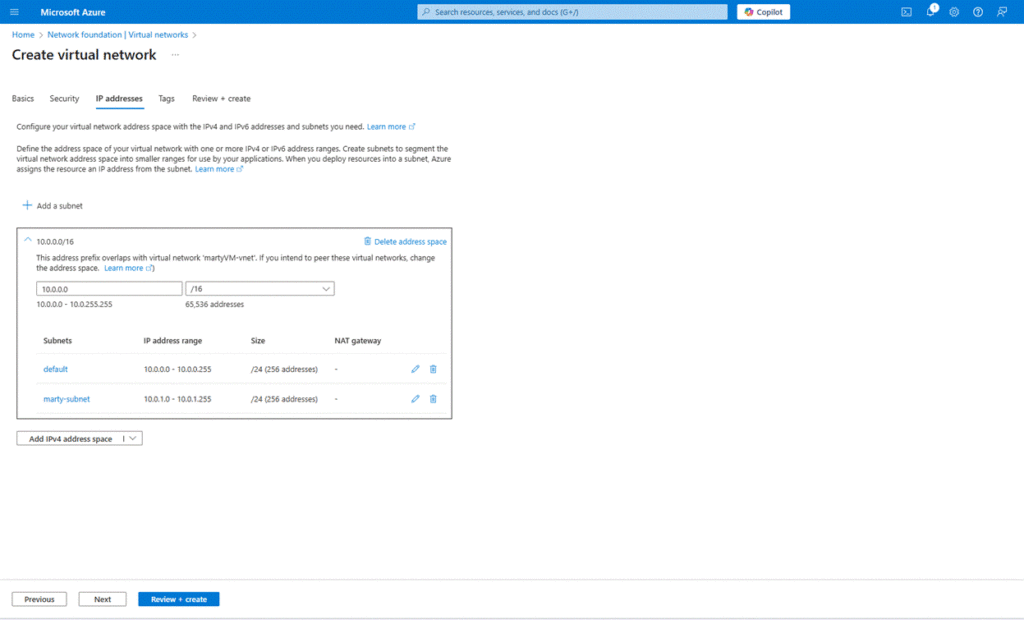
5. Configure IP address space and subnets
On the IP Addresses tab:
- Set the address space (10.0.0.0/16).
- Create a new subnet marty-subnet with a range like 10.0.0.0/24.
Take a screenshot of this tab after configuration.

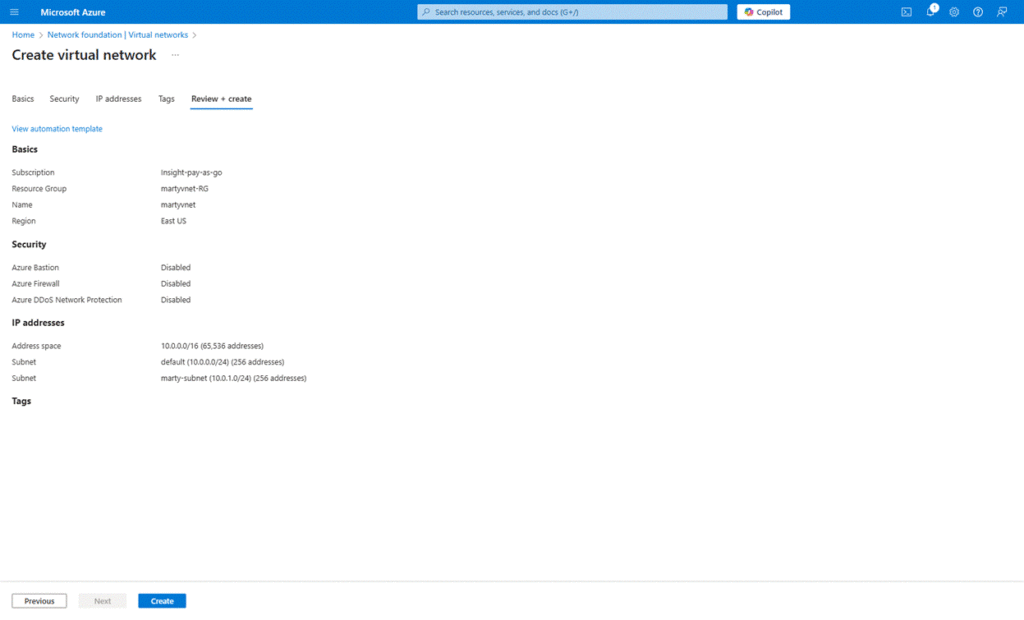
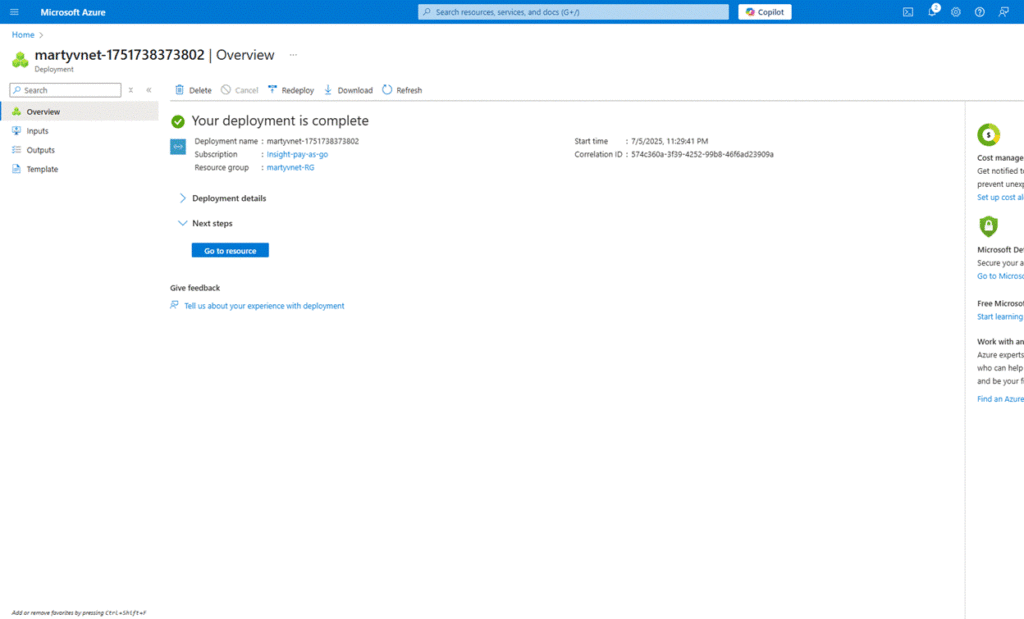
6. Review and create
Go to the Review + create tab:
- Ensure validation is successful.
- Click the “Create” button to deploy the vNet.
#Migration #CloudMigration #Azure #M365Migration #EmailMigration